Is Thermal Imaging Worth It For A Home Inspection?
Buying or selling a house can feel like a lot to handle, right? There’s so much to think about, and the last thing you want is to get hit with surprise problems after the deal is done.
Traditional home inspections are great, but they don’t always catch everything.
That’s where thermal imaging comes in. It’s a super useful tool that can help you spot hidden problems in a home that might otherwise go unnoticed.
Curious if it’s worth adding to your inspection?
In this post, I’ll explain why thermal imaging is worth it and how it could actually save you time, money, and a lot of headaches.
Why Thermal Imaging Is Worth It
Here are 8 good reasons why we think thermal imaging is worth it for a home inspection:
#1. Detects Hidden Moisture And Water Leaks
One of the biggest perks of thermal imaging is its ability to detect moisture that’s hidden behind walls, floors, or ceilings.
Water leaks are sneaky. They can hide for months (or even years) before you notice any visible damage. By the time you see the stains or mold growing, it might already be a bigger problem.
Thermal imaging can detect those moisture pockets even if there are no visible signs yet.
The camera picks up the temperature difference between wet and dry areas, revealing hidden leaks behind walls, ceilings, and floors.
Catching these early can save you from a big repair bill down the road.
Plus, if you’re buying a house, knowing that moisture isn’t hiding somewhere is a huge relief.
Also Read: Sewer Line Camera Inspection Costs In Virginia
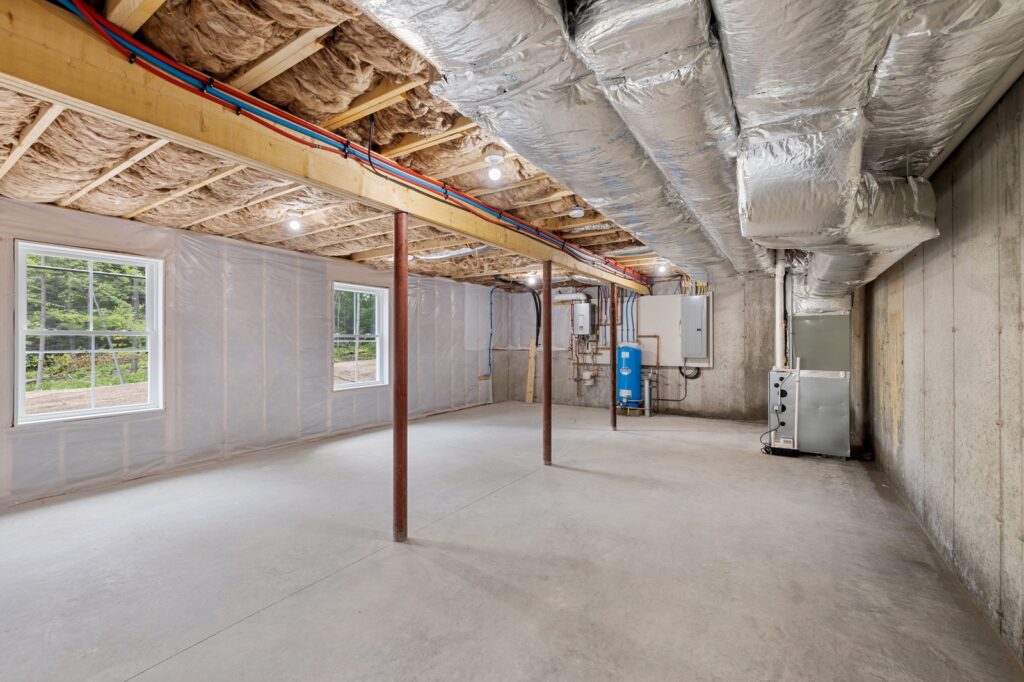
#2. Uncovers Insulation Gaps And Air Leaks
Ever noticed that one room in your house is always freezing in winter? Or maybe it’s too hot in the summer? It could be that your insulation isn’t doing its job.
Thermal imaging is awesome for spotting gaps in insulation or places where air is leaking out.
The camera shows you cool spots (where heat is escaping) or warm spots (where heat is coming in).
Fixing these leaks is great because it makes your home more energy-efficient and helps you save on utility bills. Plus, your house will feel way more comfortable, no matter the season.
#3. Find Electrical Hazards
Electrical issues are a big deal, but they can be hard to notice until something really goes wrong.
Overloaded circuits, old wiring, or overheating electrical panels can be ticking time bombs.
Thermal imaging can spot those hot spots in your electrical system before they cause any damage. The camera can show you if any wires or electrical components are running hotter than they should be.
That’s a huge plus because it helps you avoid potential fire hazards.
A little warning now could save you a lot of trouble later.
#4. Non-Invasive Inspection
One of the best things about thermal imaging is that it’s totally non-invasive.
No need to cut into walls, pull up floors, or make a mess to see what’s going on beneath the surface. The thermal camera works by measuring temperature differences on the surfaces of walls, ceilings, and floors.
If there’s a hidden issue, like moisture or poor insulation, the camera will show it.
This means you get all the information you need without having to rip up your house. It’s a fast, efficient way to get a clear picture of what’s happening behind the scenes.
Also Read: How Much Does A Radon Test Cost?
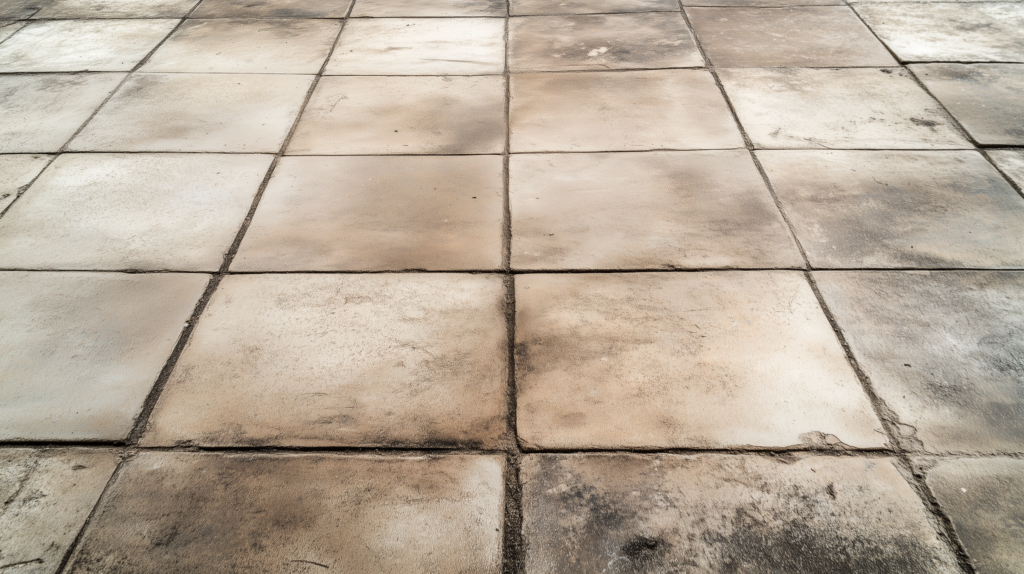
#5. Detects Structural Problems
Structural issues are some of the most concerning problems to deal with in a home.
However, these aren’t always easy to spot. Cracks in the foundation, weakened walls, or shifting structural elements can be hidden behind drywall or insulation.
Thermal imaging helps detect temperature differences caused by these issues, even if they’re not visible on the surface.
If something’s wrong with the structure, a thermal scan can reveal it early on.
Catching these issues early can save you a ton of money in repairs, and it helps you avoid that gut-wrenching realization that the house you just bought is falling apart
#6. Helps With Pest Detection
Pests? Ugh, nobody wants to deal with those. But sometimes they sneak into places you don’t even know about – like inside the walls or up in the attic.
Thermal imaging can help you spot where rodents or insects might be causing trouble.
If rats are nesting in the walls, they create heat patterns that the camera can detect. The same goes for termites. These little guys eat through wood, and thermal imaging can pick up on temperature changes from their activity.
Catching these pests early can help prevent an infestation from getting out of hand.
#7. Get Visual Proof Of The Home’s Condition
When it comes to home inspections, it’s one thing for an inspector to say, “Hey, there’s a leak behind that wall,” and it’s another thing to actually see it.
Thermal imaging gives you visual proof of the home’s condition.
Those temperature differences show up clearly on the screen, so you can see exactly what’s going on.
If you’re a buyer, this can help you make a more informed decision. If you’re a seller, it shows that you’ve gone the extra mile to ensure your home is in good shape.
Either way, thermal images give you solid, visual evidence of what’s happening in the home.
Also Read: How Much Is A Home Inspection In Virginia?
#8. Peace Of Mind For Buyers And Sellers
At the end of the day, peace of mind is priceless.
Thermal imaging gives you confidence that you’re not missing any hidden issues.
For buyers, it’s reassurance that the house you’re thinking of purchasing is in good shape, and you’re not walking into a money pit.
For sellers, it’s the peace of mind that comes from knowing exactly what’s going on with the property, so there are no surprises during the sale.
It builds trust, clears up any doubts, and makes the whole process smoother for everyone.
Limitations Of Thermal Imaging
As cool as thermal imaging is, it’s not perfect.
The biggest limitation is that it can only point out problems, and it won’t tell you exactly what’s causing them. You’ll still need a professional inspector to follow up with more detailed testing to confirm what’s going on and how to fix it.
Thermal imaging only detects temperature differences on the surface. It won’t tell you about issues deeper inside walls or under floors unless they cause noticeable temperature changes.
Plus, the accuracy of it depends on the temperature and humidity. If it’s too warm or too cold, it could affect the results.
For example, if you’re using thermal imaging to spot leaks but the outside temperature is too close to the inside temperature, it might not show clear results.
Bottom Line
So, is thermal imaging worth it for a home inspection?
In most cases, yes, it’s definitely worth considering. It can detect hidden issues like water leaks, insulation problems, electrical hazards, and more – things that could easily be missed with a standard inspection.
Plus, it’s non-invasive, and gives you visual proof of the home’s condition.
It can even save you money by spotting problems early on!
However, like most things, it has its limits. It’s best used alongside traditional inspection methods, not as a replacement.